Comments
- No comments found
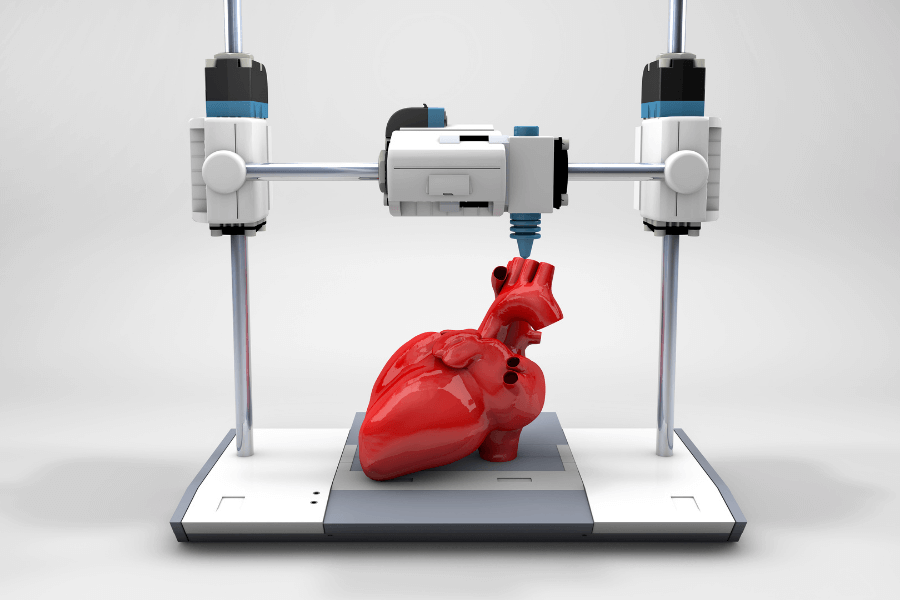
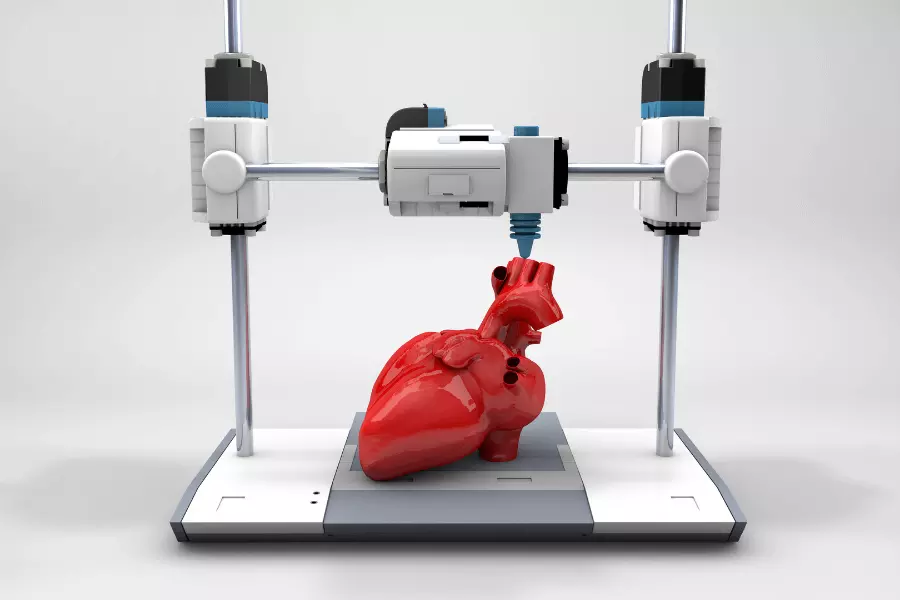
3D printing has quickly become one of the most popular tools for creating just about anything you can imagine.
Bring home a 3D printer, and a creator can download models for all sorts of different projects.
But what can they do if the thing they want to create doesn’t exist yet? If that’s the case, it’s time to start delving into the world of modelling for 3D printing. What do they need to know to get started?
No matter how new a computer is, chances are good it didn’t come with 3D modelling software. So, the first step — after bringing home a 3D printer — is to find the perfect software. Thankfully, there’s a significant number of user-friendly modelling and rendering programs designed for beginning modellers.
As a bonus, many of these starter programs are free, so newbie modellers can try them out to figure out which one works best for them. Free 3D modelling programs include:
These next three programs provide a free version of the program while offering a premium license for their pro versions:
If modellers decide they want to take their skills to the next level or start designing and printing things professionally, they may want to consider a more advanced program. There are plenty of options out there, with prices ranging from $300/year to $2000/year or more, depending on their needs.
Others offer a “pay once” model for a lifetime license, which can cost as little as $199 for personal use. It’s just important to understand that designers don’t have to spend massive amounts of money just to start creating things with their 3D printer.
Once the design is complete and ready to go, the next step is to run it through a program that will help turn the model into reality. That’s where slicers come in.
As their name suggests, these programs slice the 3D model into pieces and turn the design into code that the 3D printer can understand. Of course, the exact suffix of the file will depend on the make and model of the printer, but most of these programs are compatible with the majority of printers on the market today.
In addition to converting the design into a usable file, these programs also include settings information for the printer, detailing temperature, print speed, and layer height. Without these slicers, there’s no guarantee the printer will figure out the best way to bring the creation to life.
Like the modelling software, many of the best 3D slicer options are free, and many of the top programs are open-source, so they’re compatible with a wide variety of printers. Free slicer programs include:
(*) Denotes open-source programs.
For those not sure which slicer will work for their printer, sometimes the best place to start is reading the manual. The printer’s manufacturer might have some recommendations to help find the best slicer for the job.
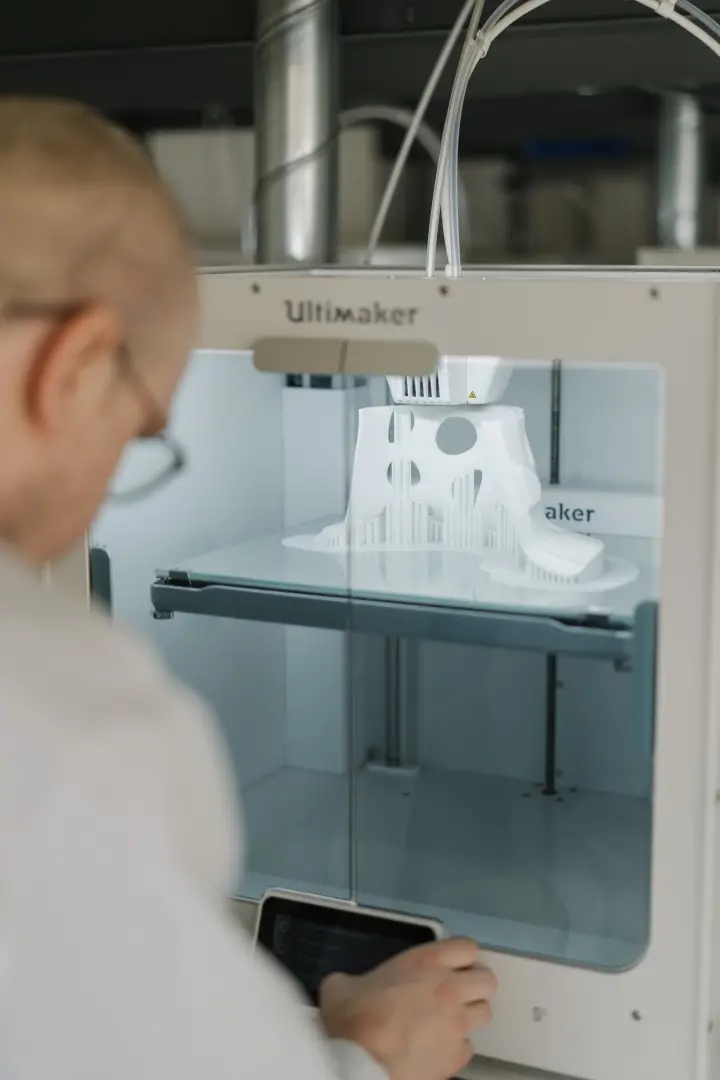
The next step is the easiest, but it’s also the one that requires the most patience. Once the creation is designed and sliced, it’s time to export it to the printer so you can see your design come to life. If this is your first print, make sure you’ve taken the time to calibrate everything carefully. If the printing bed isn’t square and level, or the printer heads are out of alignment, even the most carefully designed project could end up a molten mess of wasted filament.
With a calibrated printer at the designer’s fingertips, all that’s left to do is click print and wait. 3D printing is not a fast process. Setting it up to print overnight is usually going to be the best option. In the morning, there’s a finished or nearly-finished print waiting on the print bed.
Don’t get discouraged if the first few prints don’t turn out perfectly, especially for those who are new to the world of 3D modelling. Practice makes perfect, as they say, and it will take some time to iron out all the kinks. Even then, there will occasionally be prints that don’t go correctly. Even professional 3D printers will sometimes wake up to a molten mess on their printing bed.
These machines can be tricky like that. It’s all part of the fun and occasional frustration of 3D printing at home.
For those interested in 3D printing but can’t seem to find exactly what they’re looking for in the myriad of free databases available online, the only solution is to start designing models. Getting into 3D modelling can feel intimidating for the beginner, but it doesn’t have to be. Start by experimenting with some free programs to see what works best. Don’t forget to include the slicer software, too!
From there, if modellers feel they need more tools or are working with more advanced printers, they may decide they want to upgrade to a more professional program. For the average household user or hobbyist, those expenses aren’t necessary. All they need is a printer, a computer, a free program, and the will and patience to practise until they get it right.
Emily Newton is the Editor-in-Chief of Revolutionized. She is a science and technology journalist with over three years covering industry trends and research.
BBN Times connects decision makers to you. Experts in their fields, worth listening to, are the ones who write our articles. We believe these are the real commentators of the future. We quickly and accurately deliver serious information around the world. BBN Times provides its readers human expertise to find trusted answers by providing a platform and a voice to anyone willing to know more about the latest trends. Stay tuned, the revolution has begun.
Leave your comments
Post comment as a guest