Comments
- No comments found

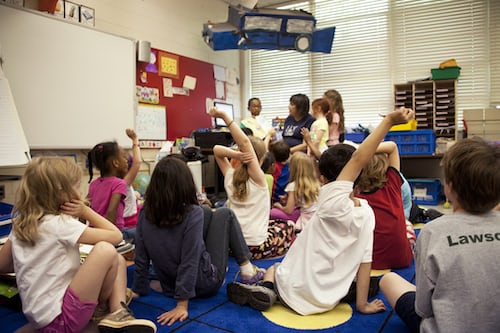
As a teacher, creating an effective storyboard for younger learners is a crucial task that requires careful planning and execution.
Storyboarding is a visual representation of the storyline in the form of drawings, images, or text. It serves as a roadmap that helps students visualize and understand the concepts presented in a lesson. This article will explore how to create an effective storyboard for younger learners and the benefits of using it in the classroom.
Storyboarding is a great teaching tool that can help improve student engagement, retention, and comprehension. It provides a visual representation of the lesson's content, making it easier for students to understand complex concepts. Additionally, using a teacher worksheet maker encourages creativity, critical thinking, and problem-solving skills. Furthermore, it helps students develop their writing and communication skills by organizing their thoughts and ideas in a clear and concise manner.

By following this guide, you’ll be able to achieve success and engage your pupils during the lessons.
The first step in creating an effective storyboard is choosing the right topic that is relevant and appropriate for your students' age and level of understanding. Select a topic that will capture their attention and encourage them to learn more. Consider their interests, learning styles, and prior knowledge of the subject matter.
What do you want them to learn from the lesson? What are the key takeaways? Clearly define the learning objectives to ensure that your storyboard aligns with your teaching goals.
Next, create a rough outline of your storyboard. Decide on the number of frames, the placement of text and images, and the overall structure of the storyboard. Keep in mind that younger learners may have a shorter attention span, so it's essential to keep the storyboard simple and easy to follow.
Further, start adding visuals and text. Use simple and clear images that represent the content of the lesson. Additionally, use short and concise text that is easy to read and understand. Avoid cluttering the storyboard with too much information or unnecessary details.
Finally, review and revise your storyboard to ensure that it aligns with your learning objectives and is easy to understand. Get feedback from other teachers or students to improve the clarity and effectiveness of your storyboard. Consider making changes based on their feedback and suggestions.
Storyboarding offers several benefits for both students and teachers. Here are some of the benefits of using storyboarding in the classroom:
Improves Student Engagement: Storyboarding can help capture the attention of students and increase their engagement in the lesson.
Makes Retention and Comprehension Better: It also provides a visual representation of the lesson's content, making it easier for students to remember and understand.
Encourages Creativity and Critical Thinking: Storyboarding encourages students to think creatively and critically by organizing their thoughts and ideas in a clear and concise manner.
Develops Writing and Communication Skills: It helps students develop their writing and communication skills by organizing their thoughts and ideas clearly and concisely.
Provides a Framework for Learning: Storyboarding provides a framework for learning by breaking down complex concepts into smaller, more manageable parts.
Improves Collaboration: Students can collaborate more effectively by sharing and refining ideas within a storyboard. This helps to foster collaboration and encourages students to work together.
Provides a Visual Aid for Learning: Storyboards provide a visually appealing way to present information, making it easier for students to remember and understand the material.
Helps with Planning and Organization: Storyboarding can also be used to help students plan and organize their ideas, which can make it easier for them to do research, develop essays, and complete other assignments.
Creating an effective storyboard for younger learners is an essential task that requires careful planning and execution. Storyboarding is a great teaching tool that can help improve student engagement, retention, and comprehension.
By following the steps outlined in this article, you can create an effective storyboard that aligns with your teaching goals and helps your students understand complex concepts. By using storyboarding in the classroom, you can help your students learn in a fun and interactive way.
BBN Times connects decision makers to you. Experts in their fields, worth listening to, are the ones who write our articles. We believe these are the real commentators of the future. We quickly and accurately deliver serious information around the world. BBN Times provides its readers human expertise to find trusted answers by providing a platform and a voice to anyone willing to know more about the latest trends. Stay tuned, the revolution has begun.
Leave your comments
Post comment as a guest